Using Book Creator/en
Daftar isi
Using Book Creator
Book Creator allows you to select a number of wiki pages, re-order them and then export them as:
- Open Document Format (odt), or as
- Portable Document Format (pdf).
Open Document Format can be opened in LibreOffice or OpenOffice (and then saved as Microsoft Word if required). This allows you to edit and reformat the document to make it look truly impressive.
Portable Document Format can be opened with any number of free viewers, such as Adobe Acrobat Reader and is ready to print - the formatting can't be changed, so if you want a really polished product you will probably need to use the odt option.
Start Book Creator
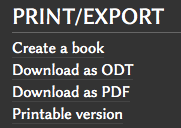
To start book creator, click on the 'Create a book' link at the bottom of the page:
You will see an option:
(Click on the green button!)
The Book Creator Panel
Once you have started book creator, the panel shown below will appear on the top of every page until you stop book creator.
To add a page
You can now navigate to any page you want and add it to your book using the Green + button. You do not need to worry about the order at this stage - make sure it is in the language you want - the language you can see is the language that will be added.
To add a link
You can also add a page by clicking on the link - when you hover over a link you will see a small image appear :
![]()
Click on this to add the linked page to your book.
To stop the book creator
You can stop book creator at any time by clicking on 'disable'.
Manage your book
To manage your book click on 'Show Book'.
Finalising the book content
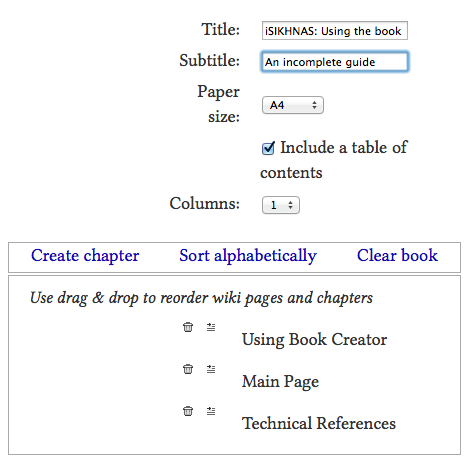
You can remove the pages from your book (does not delete the wiki page!!), view the page and re-order the pages from this interface.
You should also specify a title, and the other output details that you want. The title should start with iSIKHNAS so that documents can be easily found.
Downloading the book
When you are ready to download the book, you just need to choose the format you want, and then click on the download link
You will come to a page which tells you that the book is rendering (being put together). When it is done it will present a download link for you to use to download the copy.
Saving the book
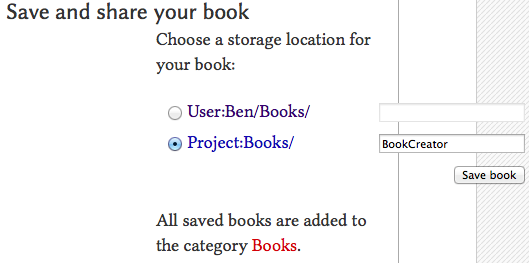
You can also save your book - to save it so that others can see it and use it, save it in the Projects options, not the user option.
You can now come back to your book
Troubleshooting
Q. My book is not being produced?
A. Sometimes the process just borks - this seems to normally be when the process indicator is at 1.06%. If refreshing the page doesn't help, going back and starting it again seems to.
Q. My images are too wide!! Help!
A. If there is not an empty line before and after an image, it seems to spread out the text or the image to fit the full width of the page. You can help this by setting the image width in the [File:image.png|529px] tag, but the extra space is the most helpful.
Q. The pdf output is not very nicely laid out?
A. The wiki is designed for very consistent web based layout. The pdf rendering process has to add details which the wiki does not store. For this reason we have enabled the word processor output format (odt).
Q. Hang on! Where is the content I just added?
A. At this point, it seems as though the page you added to you book is the page that is printed - if the page has been changed since you added it, you need to delete the page from your book and add it again. Click on the view page link - when you get to the page, click the red - sign to remove the page, then the green + to add it again.


