Spatial data management manual/id
Daftar isi
- 1 Pengelolaan Data Spasia : Panduan untuk Koordinator iSIKHNAS
Pengelolaan Data Spasia : Panduan untuk Koordinator iSIKHNAS
Latar belakang
Data spasial
Lokasi, nama, batas wilayah
- Desa
- Kecamatan
- Kabupaten
- Provinsi
Perubahan batas wilayah
Sebagai contoh:
- 1 desa dimekarkan menjadi 2 desa
- Pemindahan kecamatan ke kab/kota lain
- Perubahan nama kecamatan
- Pembentukan provinsi baru dari pemekaran kab/kota di provinsi lain
Pentingnya data spasial
Dalam iSIKHNAS Setiap data dikaitkan dengan sebuah lokasi.
Ini membantu:
- Analisis
- Pemetaan
- Identifikasi area tanggung jawab
Jika data lokasi tidak diperbarui:
- Kita tidak dapat mengirimkan data akurat
Permasalahan
Data nasional resmi dari BPS:
- Hanya diperbarui setahun sekali
- Kedaluwarsa dengan cepat
Solusi
- Yang pertama mengetahui adanya perubahan adalah staf setempat
- Koordinator iSIKHNAS
- iSIKHNAS memungkinkan koordinator kab/kota dan provinsi untuk memperbarui data spasial secara langsung melalui situs web
iSIKHNAS will offer a way for kabupaten and provincial coordinators to update any changes to the spatial data directly on the web
Advantages
- Coordinators can fix any problems immediately
- Data is always accurate, using local knowledge
- iSIKHNAS tracks changes in the names and boundaries over time
- Historical data is mapped with old maps
- New data is mapped with new maps
Overview
- Map interface – select the unit or units to change
- Click on the button for the change
- Provide details of changes
- Save changes
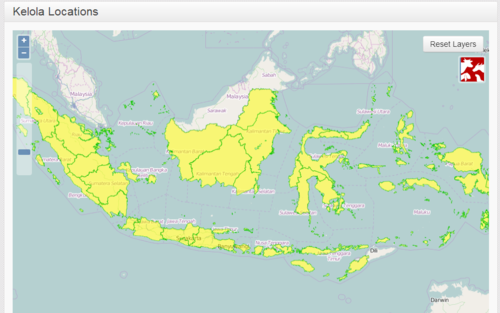
Map Interface
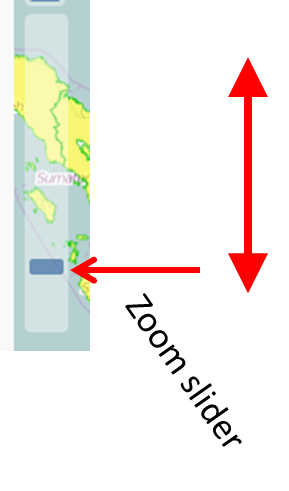
Pan
- Click and drag
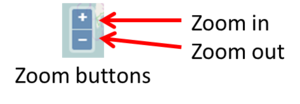
Zoom in
- Double click, or
- Zoom slider, or
- Zoom button
Zoom out
- Zoom slider, or
- Zoom button
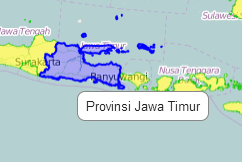
Selecting single units
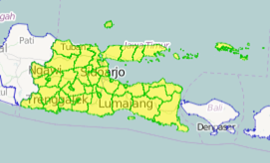
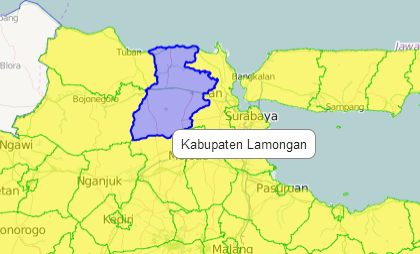
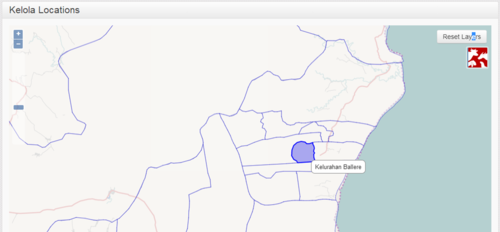
- Float over province to see the name
- It will be shown in blue
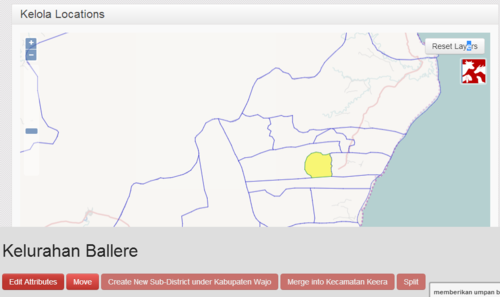
- Single click on a province to select
- It will be highlighted in yellow
- The kabupaten will be shown in green
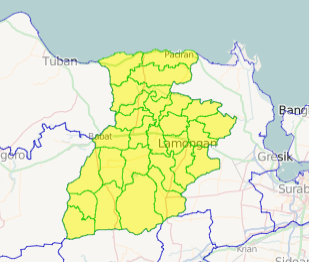
- Zoom in to see districts better
- Float to see the name
- Blue highlight
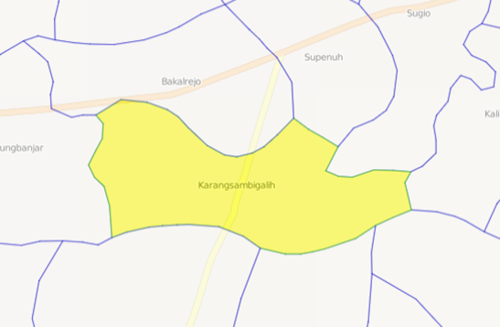
- Single click to select
- Yellow highlight
- Kecamatan boundaries will be shown
Selecting multiple units
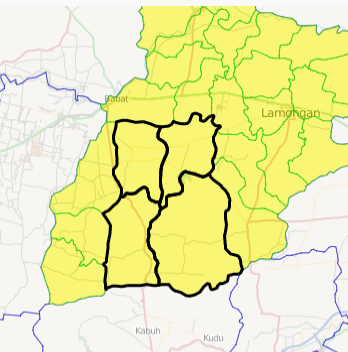
- Hold down shift key
- Click on the first unit
- Keep holding down the shift key
- Click on the second unit
- Repeat until all units are selected
- Release the shift key
- Selected units are outlined in black
Operations
Edit
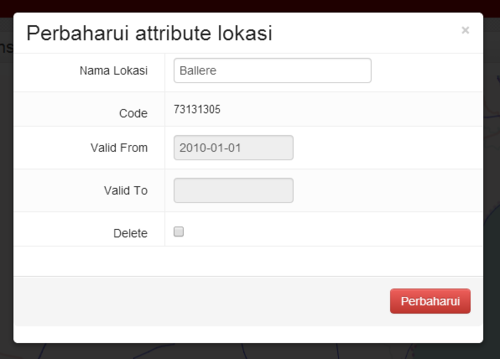
- Change the name of a unit
Split
- Split one desa into two desa
Move
- Move a unit from one parent unit to another
Merge
- Merge two desa into a single desa
Create
- Create a new unit from several other sub-units
Edit
- This is used to change the name of a
- Desa
- Kecamatan
- Kabupaten
- Provinsi
1. Select the unit on the map interface
2. Click on the Edit button
3. Edit the name
Split
- This is used when one desa is split to become two desa (a new and an old).
- You need to mark the line of the new boundary between the two desa.
- Select a single desa
- Only desa can be split, not higher level units
- Zoom in so the desa fills most of the screen
- This will make it easier to edit
You now need to mark the line that divides the desa into two new desa.
- If available, copy this line from a map.
- The line may follow a river or a road – trace it on the map
- If you don’t know, you can draw a line in the middle of the desa where you estimate the boundary should be
- Try to be as accurate as possible, but don’t worry if the line not exactly right
- Click on the Split button
- With the mouse, single-click on a series of points that mark the new boundary to split the desa
- Start with the first point outside the desa
- Then single-click points close together along the line until you get to the other side of the desa
- Double-click the last point outside the desa to finish
- The system will ask you which is the new desa
- Click to select the new desa
- Edit the name and save
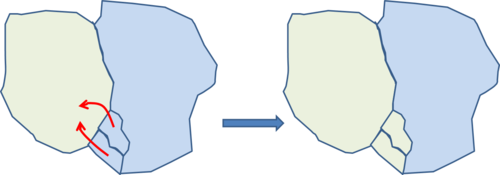
Move
- Move is used to move a unit from one parent unit to another
For example
- Move a desa to a different kecamatan
- Move a kecamatan to a different kabupaten
- Move a kabupaten to a different province
- The moved unit will get a new location code
- So will all sub-units (eg desa in a kecamatan)
- Select one or more units to be moved
- They must all be at the same level
- All kecamatan, or all desa
- They must all be in the same parent unit
- Kecamatan in the same kabupaten
- Desa in the same kecamatan
- They must all be at the same level
- Click on the Move button
Click on the unit to move to
- This must be a parent unit
- If you are moving desa, you must choose a kecamatan
- If you are moving kecamatan you must choose a kabupaten
- It must be next to the selected units
- It must have a common boundary
- Click OK
- The units will be given a new location code
- The boundaries of the parent and higher units will be recalculated
Merge
- Two desa are joined into a single desa
- Select the two desa to merge
- Only desa can be merged (not higher units)
- The desa must be next to each other (share a common border)
- Click on the Merge button
- Select the old desa with the name that will be kept for the new desa
- Click OK
Create
Creates a new higher-level unit from a collection of units For example
- A new province from one or more selected kabupaten
- A new kabupaten from one or more selected kecamatan
- Select one or more units
- They must all be at the same level
- They must all be next to each other
- Click Create
- Enter the name for the new parent unit

